How to Teach Orton-Gillingham Red Words at Home
If your child keeps forgetting irregular words or trying to sound out parts that do not follow the pattern, this guide shows how to teach Orton-Gillingham red words at home in a simple, structured way.

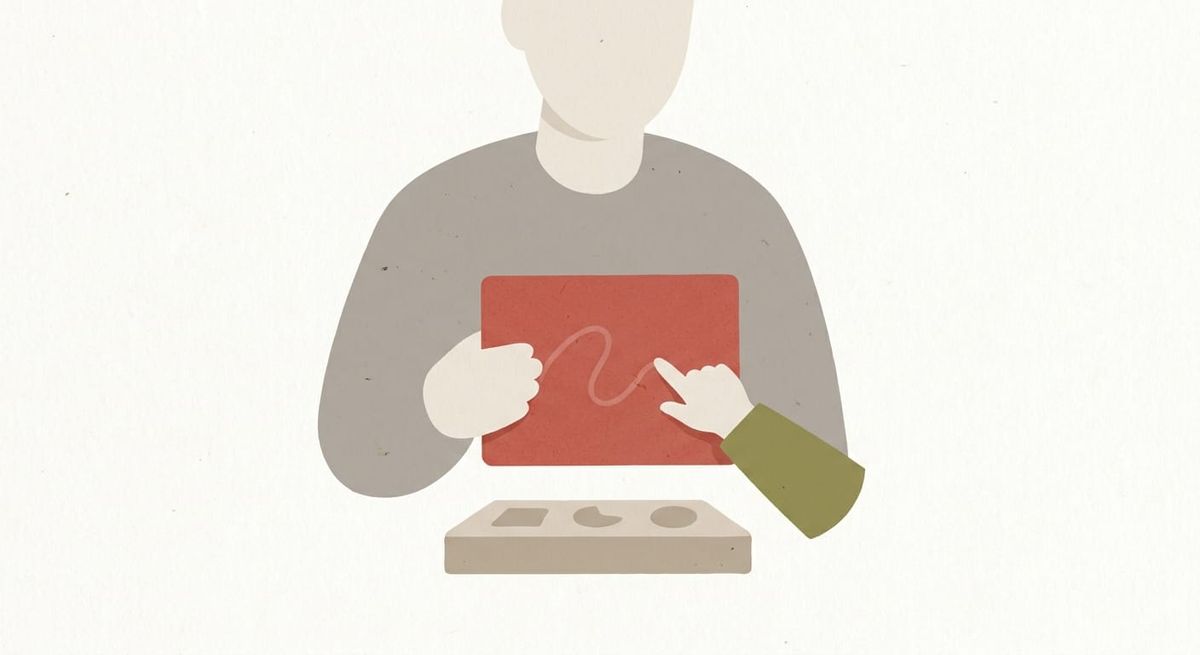
If your child can read decodable words like sun or plan but gets stuck on words like said, was, or come, you are not imagining the difference. Some words have parts that do not follow the phonics pattern your child expects. In Orton-Gillingham, these are often taught as red words.
The hard part for parents is knowing how to teach them without slipping into random memorization. If you have found yourself holding up a word card and hoping it sticks, this post will show you a better way to teach Orton-Gillingham red words at home.
What are red words in Orton-Gillingham?
Red words are high-frequency words that have one or more parts that are not fully decodable based on the phonics pattern your child has learned so far. That does not mean the whole word is a mystery. Usually, part of the word is regular and one part is the tricky piece.
For example, in the word said, your child may be able to read the s and d sounds, but the middle vowel does not say what they expect. In was, the a is the part that often surprises them.
That is why teaching red words works better when you do not treat them as picture cards to memorize. Instead, help your child notice what is regular and what needs to be remembered.
Should red words be memorized?
Not completely. A child may need to remember the irregular part, but it helps to anchor that part inside the rest of the word.
A simple way to do this is:
- Say the word
- Have your child repeat it
- Look at the word together
- Ask, “Which part looks like it should say something different?”
- Mark the tricky part in red or underline it
- Read the whole word again
This keeps the word connected to speech, print, and pattern recognition.
If a child only memorizes the whole word by shape, they may confuse similar-looking words later. They may also forget the word as soon as the card disappears.
How do you teach one red word step by step?
Keep it short and structured. One or two words at a time is usually enough.
Here is a simple home routine:
1. Introduce the word out loud
Say the word in a sentence first.
For example: “I said hello to Grandma.”
This helps your child connect the word to meaning before looking at print.
2. Show the written word
Write the word clearly on paper or a small card. Read it together.
3. Find the part that is unexpected
Ask your child which part does not match the sound they would expect.
You might say, “In said, the ai is the tricky part. That is the part we have to remember.”
4. Highlight only the tricky part
Circle it, underline it, or write that part in red. Keep the rest of the word plain so your child can still see that much of the word is readable.
5. Read and spell it
Have your child say the letters as they trace or write the word. Then read it again.
6. Review it later the same week
Come back to the word briefly the next day and again a few days later.
Short review matters more than a long first lesson.
What if your child keeps forgetting red words?
That usually means the word needs more review, not that your child is lazy or not trying.
Many struggling readers need repeated exposure before a red word becomes automatic. The key is to review in a way that stays calm and predictable.
Try asking:
- “What is the word?”
- “Which part is tricky?”
- “Can you read it in a sentence?”
That middle question is important. It helps your child hold onto the reason the word is hard instead of guessing from memory alone.
If your child misses the word, tell them the word right away, point to the irregular part, and move on. Long correction moments often create more stress than learning.
A real-life example
Evan, a fourth grader with dyslexia, could read words like sand and sit, but every time he saw said, he tried to sound it out as /s-aid/.
His mom used to drill the word on a flashcard until he got frustrated. He could sometimes say it correctly during practice, but not when it showed up in a sentence.
Once she changed the routine, things got easier. She wrote said, underlined the ai, and told him, “This is the tricky part. The rest you know.” They read it in a sentence, wrote it once, and reviewed it for a few days.
It did not click in one sitting. But after short, repeated practice, Evan stopped trying to fully sound it out and started recognizing it more easily in books and passages.
Simple ways to practice red words at home
Here are a few realistic ways to make practice more useful:
Keep the list very small
Work on one to three red words at a time. Too many words at once usually turns into overload.
Put the word in a sentence
Reading was by itself is harder than reading it in “She was late.” Context helps.
Mix old and new words
Review one new word with two or three older red words your child has already seen.
Have your child explain the tricky part
If they can say, “The ai in said is the part I have to remember,” they are engaging with the word more deeply.
Make red word practice feel manageable
You do not need a long lesson to teach Orton-Gillingham red words well. You just need a simple routine, a small number of words, and enough review for the learning to stick.
If your child is getting overwhelmed by cards and drills, you might also find this helpful: How to Practice Orton-Gillingham Without Flashcards
The goal is not perfect recall on day one. The goal is helping your child notice patterns, remember the tricky parts, and build confidence over time.
If you want extra support, ReadGenie gives children structured reading practice built on Orton-Gillingham principles, decodable text, and steady review. You can explore it here: App Store or Google Play.